
1. Introduction:
The ABQ button tester can be equipped with NK, HF push-pull force gauges and special fixtures, which are specially used to measure the buttoning force of the button or the destructive force of the clothes. Checking the fixing strength of buttons and buttons is a very important standard, especially in the design and manufacture of baby and children's clothing. The use of a certain force measurement on the button-fixed decorative piece requires recording by a force instrument.
2. Purpose:
The test purpose of the ABQ button tester is to define the responsibility of the garment manufacturer to ensure that the buttons, buttons and fasteners can be properly fixed on the garment to prevent the buttons and the like from coming out of the garment, causing the baby to have the chance to swallow. Therefore, all buttons, buttons and fixed decorations on the ready-to-wear garments (which can be put into small object measuring devices as a whole) must be tested by a button tester.
3. Significance and function:
1. The test method of this instrument is used to measure the strength of the vertical pull test on buttons and clothing, and the buttons and buttons are not pulled out of the clothing.
2. The button sewing specifications required by this method should follow the standards set by the button manufacturer.
3. This test method is used to establish the relevance of different wearing environments and to compare the types and brands of different buttons.
4. This standard may contain hazardous materials, operations and instruments, and the standard does not list all the safety problems that may arise in use. It is therefore the responsibility of the user of this standard to establish rules regarding safety and health, and to determine appropriate rules before use.
5. All buttons need to be sewn on the fabric with a chain stitch.
6. According to the test requirements, when the largest button size is greater than 6mm or less than / equal to 6mm, the button must be able to withstand 90N and 50N of pulling force.
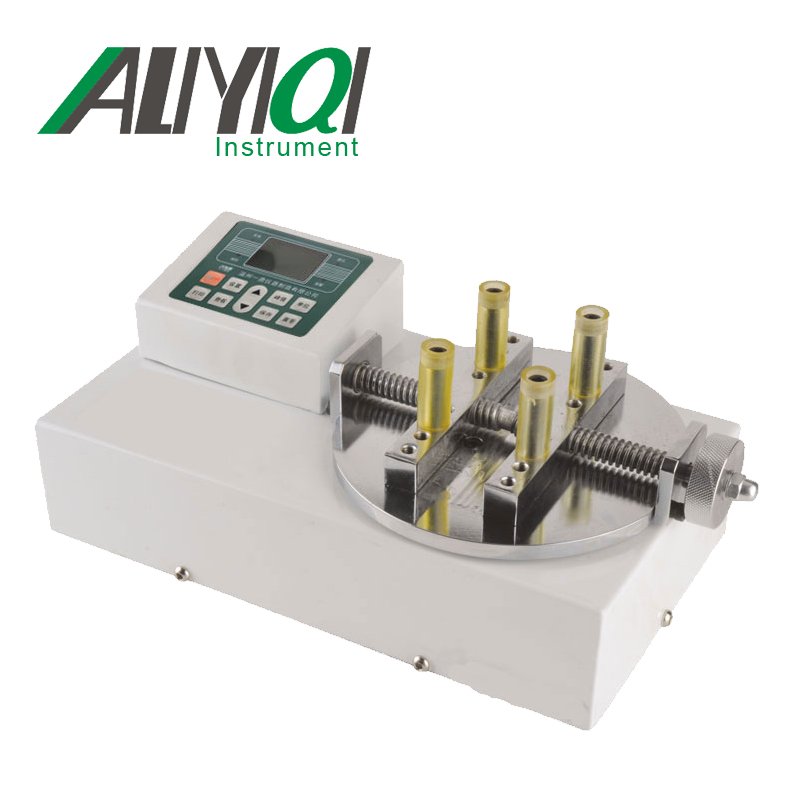
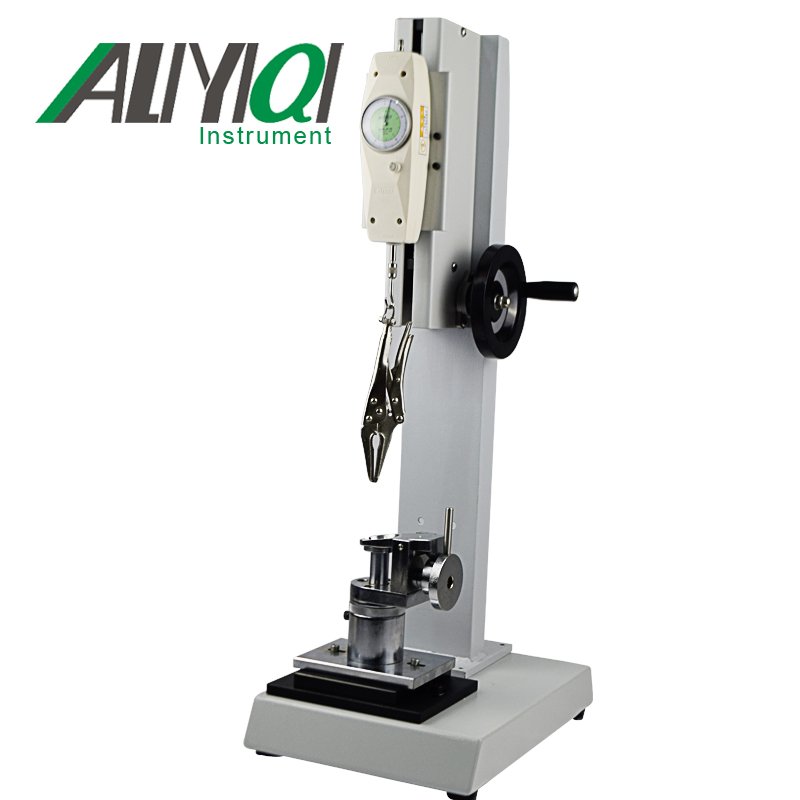
4. Instrument introduction:
1. The base of the instrument (as shown below):


· The machine base is large and has good stability, suitable for indoor table test.
· Screw drive, precise probe displacement, side handwheel loading, simple and stable operation.
· The standard mobile platform of the base can move left and right and back and forth, which is convenient and accurate for clamping.
· The machine can be installed on a table (table) to make the rack more stable.
· Length × width × height: 260mm × 360mm × 700mm.
· Stroke: 180mm.
· Rated load: 500N.
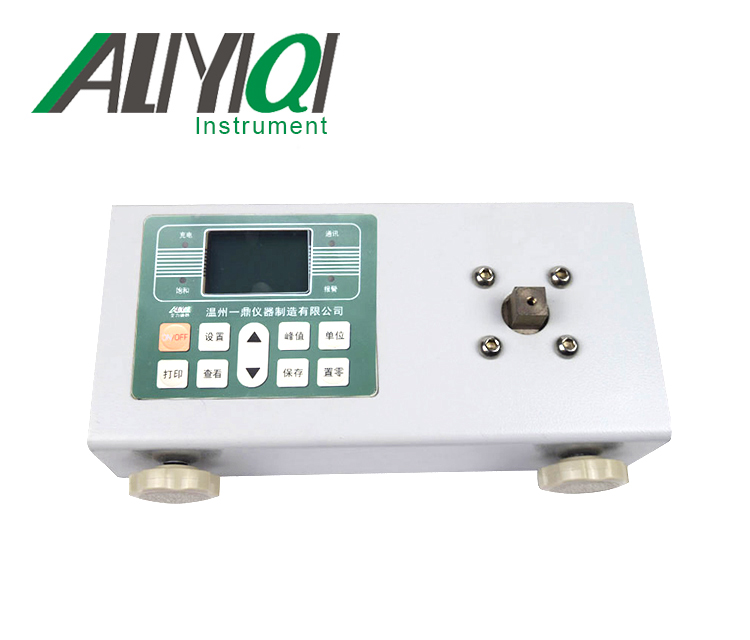
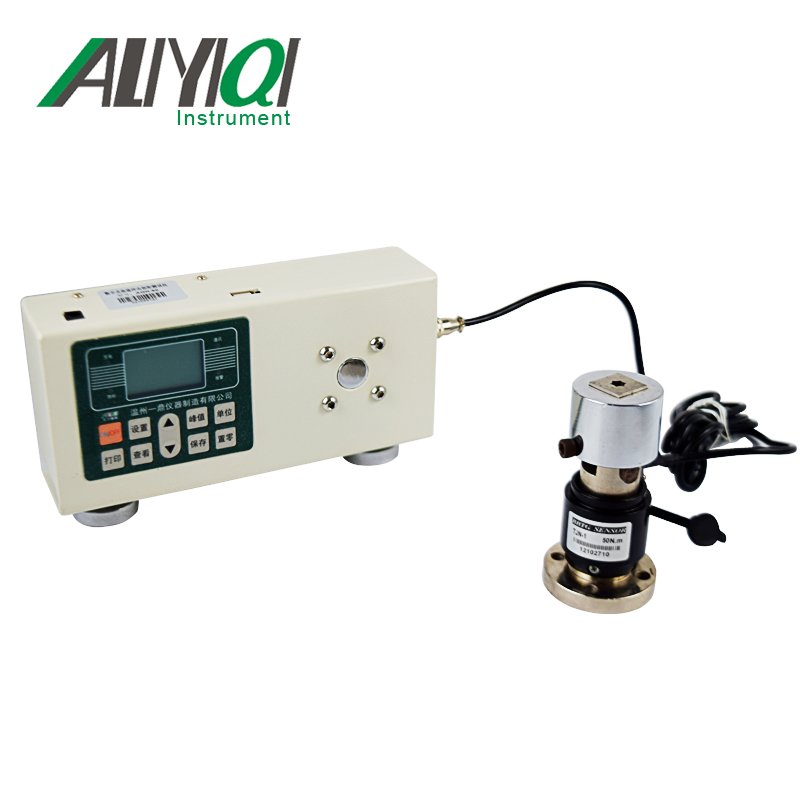
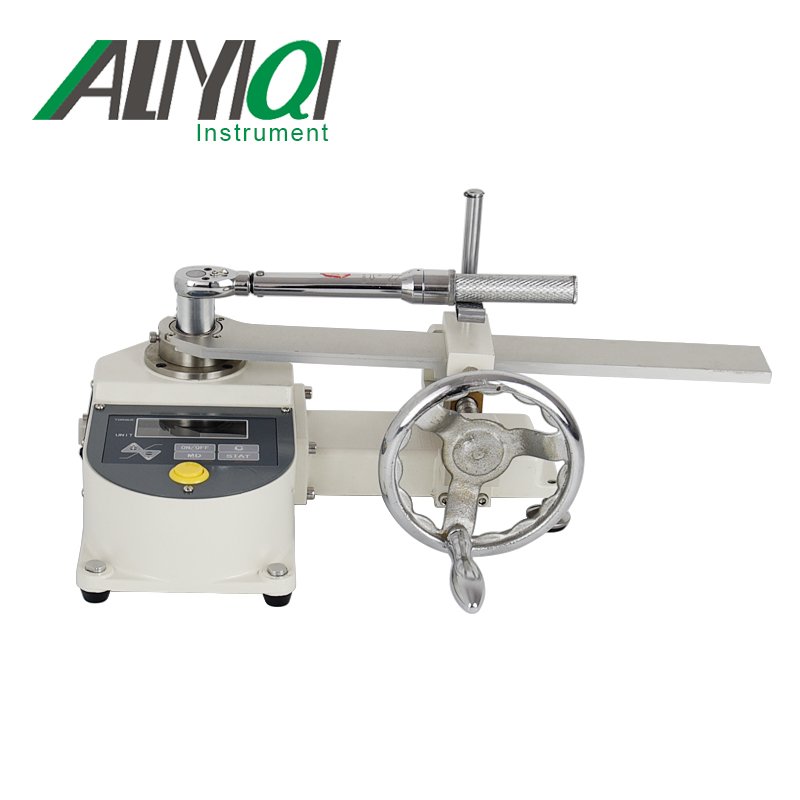
1. The push-pull force gauge of the instrument: the standard configuration is the pointer push-pull force gauge NK-300
(It can also be equipped with digital display push-pull force meter HF-300, the price is different)
⑴ Pointer push-pull force gauge
A. Model: NK-300.
B. Maximum load: 300N (30Kg).
C. Stroke of push-pull rod: 10mm.
D. Working temperature: 20 ℃ ± 10 ℃.
E. Transportation temperature: -27 ℃ ~ + 70 ℃.
F. Relative humidity: 15% ~ 80% RH.
G. Working environment: there are no vibrating sources and corrosive media around.
⑵ Digital display push-pull force gauge
H. Model: HF-300.
I. Maximum load: 300N (Kg, N and ib three units can be automatically converted).
J. Resolution: 0.01N.
K. Accuracy: ± 0.5%.
L. Output interface: RS 232 nine-hole socket.
M. Power supply: Charging power supply: 220V / AC; continuous battery working time: 6-8 hours.
N. Stability: Temperature drift: 0.2uV / ℃ (0 ~ 60 ℃); Zero drift: ≤ 0.1% / 8 hours / FS.
O. Calibration range: full-scale calibration.
P. Ambient temperature: 0 ~ + 60 ℃.
Q. Ambient humidity: ≤ 80%.
R. Allowable overload: 150%.
S. Power supply method: No. 5 nickel-cyanide battery pack / 220V AC for 4 to 6 hours.
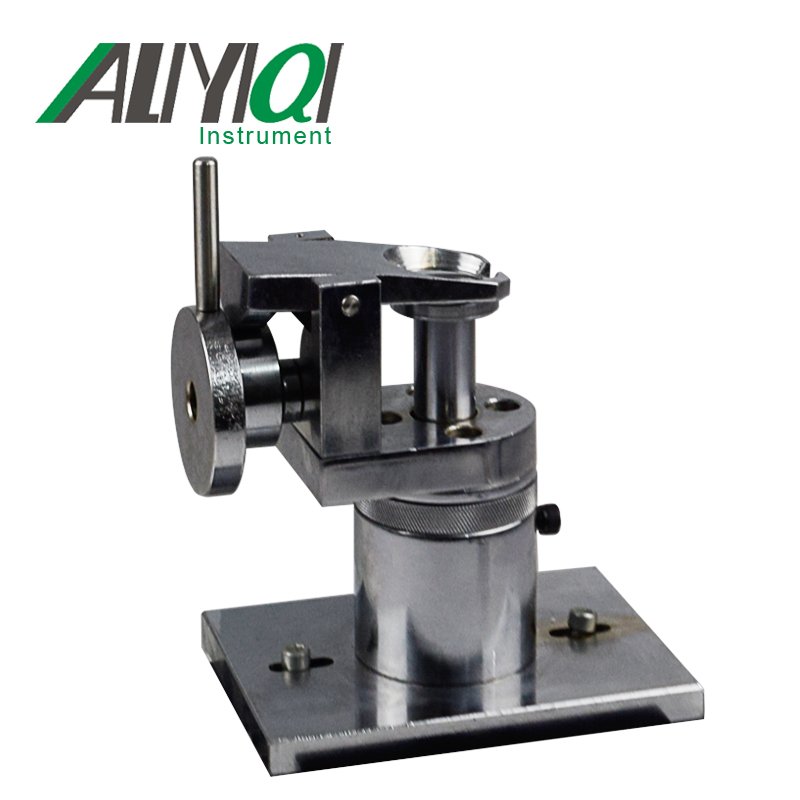
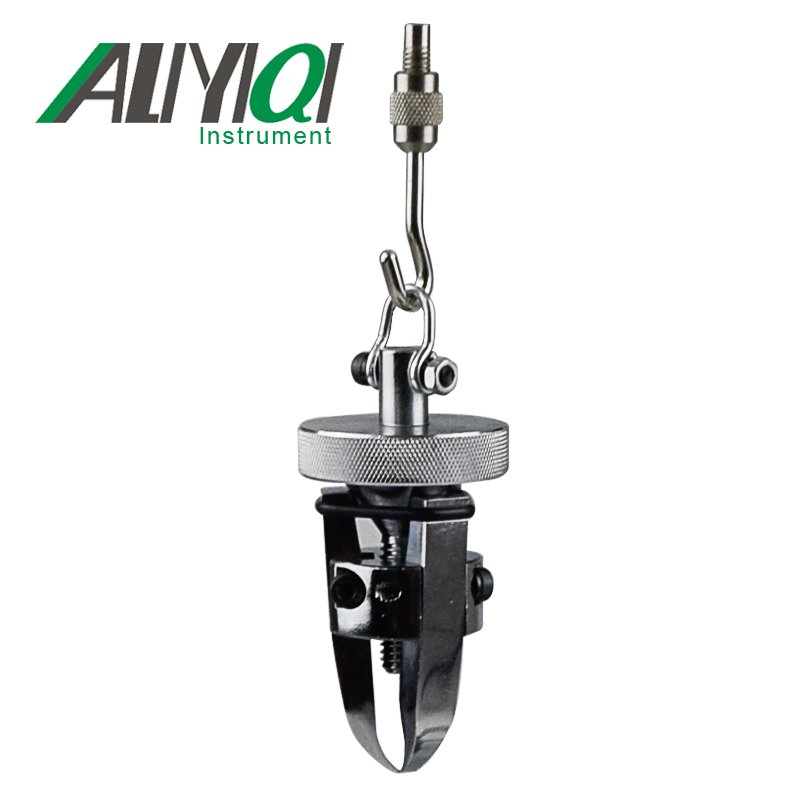
2. The upper fixture of the instrument:
A. · Model: AJJ-013.
· Scope of application: It is mainly used for tensile testing of buttons and toys.
· Maximum load: 500N.
B. Model: AJJ-014.
· Scope of application: It is mainly used for tensile testing of buttons and toys.
· Maximum load: 500N.
3. The base fixture of the instrument:
· Model: AJJ-015.
· Scope of application: It is mainly used for tensile testing of buttons and toys.
· Maximum load: 500N.
Fifth, the installation method of the instrument:
1. Installation method of base:
This instrument can be installed on the table to make the instrument more stable. When installing, please ensure that the work surface is level so that the test can get accurate values. Please refer to (L × W: 300mm × 200mm) for installation.
2. Installation method of push-pull force gauge:
A. Use an M4 wrench to loosen the four M 4 × 15 socket head cap screws on the dynamometer mounting plate and remove the dynamometer mounting plate;
B. Install the push-pull force timer of the HF series (digital display push-pull force meter), use the M4 hex wrench to insert the four M4 × 10 hex screws in the accessory bag through the 90 × 40 holes of the dynamometer mounting plate Screw into the four M4 threaded holes of the dynamometer and install the dynamometer to the dynamometer mounting plate; or use a Phillips screwdriver to insert the four M3 × 10 cross recessed pan head screws in the accessory bag through the force Inside the gauge, install the dynamometer to the dynamometer mounting plate. Screw the 145 × 30 holes on the mounting plate into the four M3 threaded holes of the dynamometer;
C. Install the push-pull force timer of the NK series (pointer push-pull force meter), use a Phillips screwdriver to remove the 4 M × 10 screws on the back cover of the push-pull force meter, and remove the 4 M3 × 14 crosses from the accessory bag Slot screws pass through the 145 × 30 mounting holes on the dynamometer mounting plate, and screw into the four M3 threaded holes on the back cover of the dynamometer (remove the threaded holes of the M3 × 10 screws);
D. After installing the push-pull gauge, use the M4 Allen wrench to reinstall the dynamometer mounting plate onto the frame.
3. Installation method of upper fixture:
Install the internal screw connection hook in the attachment for the upper fixture on the test rod of the push-pull force gauge.
4. Installation method of base fixture:
Use the two M6 screws in the attachment and the M6 hexagon socket wrench to connect the base fixture to the base firmly.
6. General test operation process:
1. Put the fabric with the button fixing piece on the base fixture (below the concave pressure block), keep the button facing upward, and push the handle of the push rod to clamp the cloth piece (and ensure that the fabric has been pressed live).
2. Rotate the upper fixture counterclockwise to open its grip.
3. If you use the push-pull force timing of HF series (digital display push-pull force meter), turn on the power and wait until the LCD display shows zero.
4. Install the push-pull force timer of NK series (pointer push-pull force meter), press the switch button once, and return the finger to zero position.
5. Shake the handwheel of the fuselage to make the upper clamp move downwards and be able to grasp the button.
6. Shake the handwheel of the fuselage to make it move upward.
Seven, daily maintenance and maintenance:
1. Do not use it overloaded. The rated load of this instrument is 300N.
2. Pay attention to daily maintenance work and keep all parts of the instrument clean.
3. When the instrument is stagnant and inflexible during use, please add a little oil to the lubrication holes on the bearing seats on both sides of the machine. When the machine fails, please contact the manufacturer or the sales point in time (do not disassemble or repair it without permission).