I. Overview
1.1 Main uses and scope of application
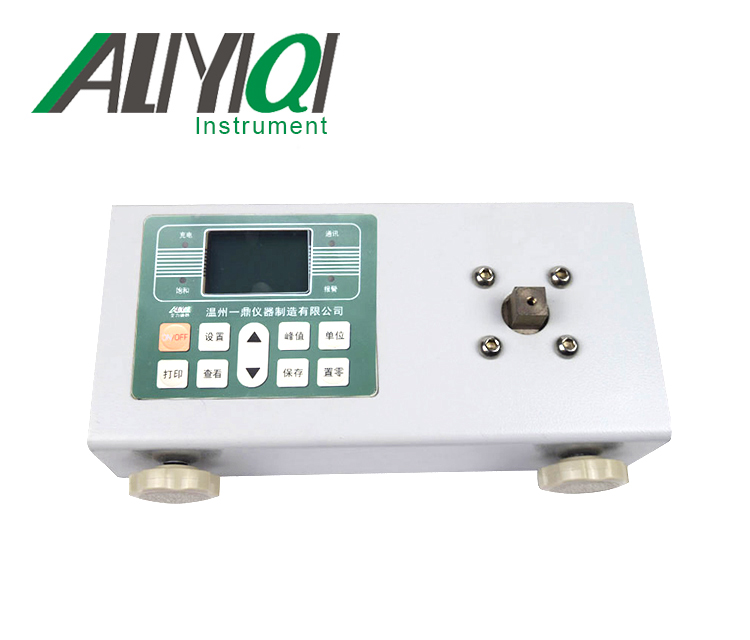
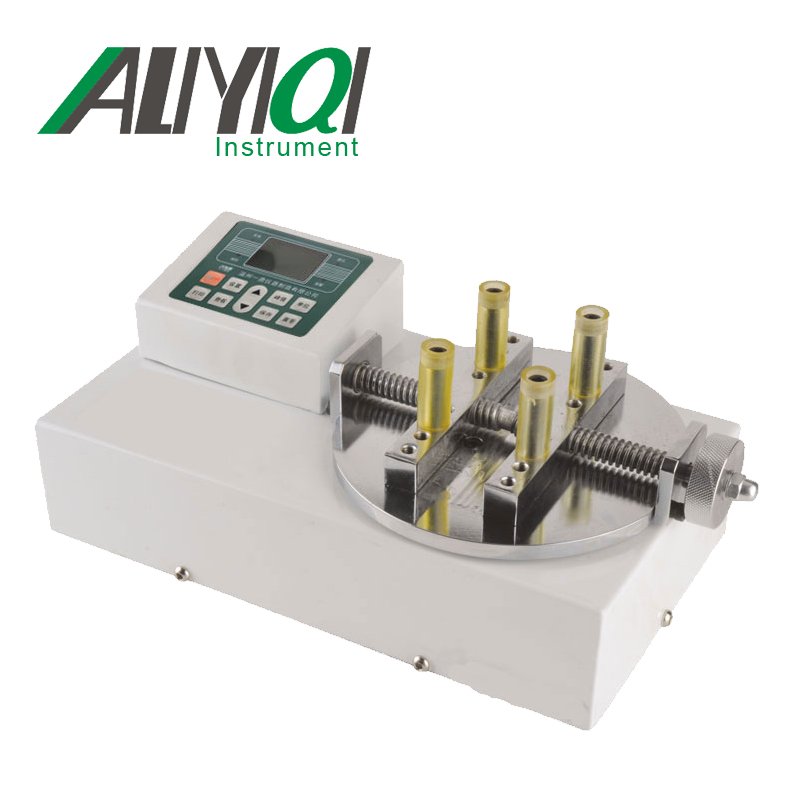
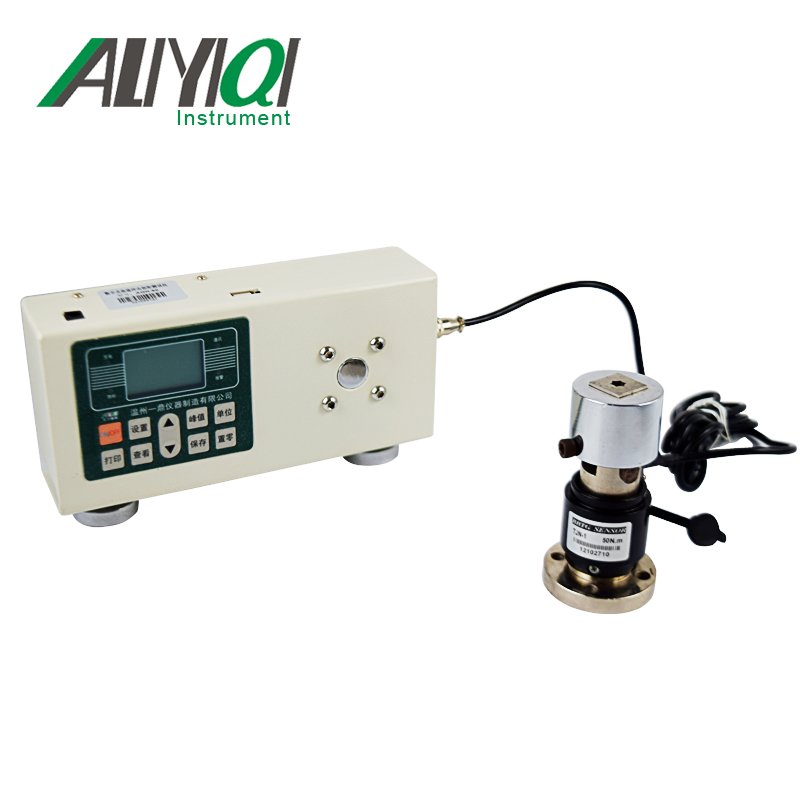
This instrument is a quality control device that can be used for the calibration of torque sensors and the testing of the transmission torque of the power system and the tightening torque of fasteners such as bolts. It has the characteristics of simple operation, high precision and easy portability, and is widely used in various industries such as electrical, light industry, machinery manufacturing, scientific research institutions and so on.
1.2 Product features
1.2.1 Accuracy: ± 1%.
1.2.2 Both clockwise and counterclockwise can be operated.
1.2.3 Peak Hold, MAX and Track modes.
1.2.5 Buzzer and LED warning.
1.2.6 Three units: N.m, Kgf.cm, lbf.in.
1.2.7 2000 sets of stored values.
1.2.8 Communication transmission function.
1.2.9 The sleep time can be preset to shut down automatically.
1.3 Torque sensor size

|
Model Part |
ANSJ-5 |
ANSJ-50 |
ANSJ-220 |
ANSJ-550 |
ANSJ-2200 |
|
A |
6.35sp (1/4) |
9.5sp (3/8) |
12.7sp (1/2) |
19sp (3/4) |
25.4sp (1) |
|
B |
φ38 |
φ62 |
φ62 |
φ94 |
φ94 |
|
C |
46 |
73 |
73 |
116 |
116 |
|
D |
φ60 |
φ109 |
φ109 |
φ160 |
φ160 |
|
E |
6 |
11 |
11 |
26 |
26 |
|
F |
φ50 |
φ90 |
φ90 |
φ132 |
φ132 |
|
G |
φ4.5 |
φ8.5 |
φ8.5 |
φ12.5 |
φ12.5 |
1.4 Variety specifications
|
model |
ANSJ-5 |
ANSJ-50 |
ANSJ-220 |
ANSJ-550 |
ANSJ-2200 |
|
Torque measurement range (N.m) |
0.500 ~ 5.00 |
5.00 ~ 50.00 |
22.0 ~ 220.0 |
55.0 ~ 550.0 |
220 ~ 2200 |
|
Accuracy |
± 1% |
||||
|
Data storage capacity |
2000 groups |
||||
|
Connector size |
1/4 |
3/8 |
1/2 |
3/4 |
1 |
|
Transmission function |
Support USB cable |
||||
|
Operating mode |
Peak hold (PEAK) / real-time mode / maximum peak |
||||
|
Unit selection |
N.m, lbf.in, kgf.cm |
||||
|
Operating temperature |
5 ℃ ~ 40 ℃ |
||||
|
Storage temperature |
-20 ℃ ~ 70 ℃ |
||||
|
humidity |
90% without condensation |
||||
|
power supply |
7.2V Ni-MH battery |
||||
|
Weight (Kg) |
0.7 |
1.4 |
1.48 |
4.7 |
5.0 |
Second, the overall product structure


1. LED warning light 11. USB jack
2. LCD display 12. Power jack
3. Charging indicator 13. Sensor signal input hole
4. Reset button 14. Peak mode * 2
5. Buzzer 15. Preset work items
6. Power / Cancel button * 1 16. Torque unit
7. Unit selection / setting button 17. Torque display value
8. Down button 18. Maximum value
9. Up button 19. Battery level display
10. Preset work selection button
* 1 Note: When in use, press \"C \" key once, the instrument will turn on; after booting, long press \"C \" key for 2 to 3 seconds, the instrument will shut down.
* 2 Note: If \"PEAK \" does not appear on the screen, it means the current mode is real-time.
2. Matters needing attention before using torque tester
2.1. Turn on the power and adjust the torque tester
a. Connect the signal cable between the sensor and the monitor.
b. Press \"C \" to turn on the power of the tester.
c. After the power is turned on, press \"C \" to reset the tester before use.
2.2. Sensor connection failure
a. If the sensor signal cable is not connected properly, the torque tester will display two warning lights on the left and right, and the word\"NOSEN \" will appear on the display.
b. Please confirm that the tester is connected to the sensor, and press \"C \" to restore the normal interface.
2.3 Wake up torque tester in power saving mode
a. In order to save power, the tester enters sleep mode after standing for a period of time (default 20 seconds), the backlight is turned off, press any key to wake up the tester; after a period of time (default 2 minutes and 30 seconds), it will automatically shut down and stand The time can be set. Press \"C \" again to restart.
2.4, reset
a. To reset, you need to touch the reset button with a needle, the instrument will automatically shut down, if necessary, restart it.
b. If the tester is not working properly, please reset the tester.
Three, menu function introduction

3.2, preset work item settings
The instrument provides ten preset work items from P0 to P9, which can set the operation mode, unit, target value and percentage of qualified upper and lower limits respectively.

* note1: If the target value is set to full scale (for example, full scale is 5), there is no response when you press the UP key when setting the upper limit percentage.
3.3. Select preset work items

3.4, select the torque unit

3.5, adjust the target torque

3.6. Operation steps in real-time mode

* Note1: If the \"Er0 \" screen appears, it means that the torque sensor has applied more than 110% of the full-scale torque value. Please press \"C \".
* Note2: When the applied torque value reaches 80% of the target torque value, the green LED warning light starts to display, and the buzzer sounds intermittently.
* Note3: When the applied torque value reaches 100% of the target torque value, the red light is on and the buzzer sounds long.
* Note4: When the applied torque value reaches 110% of full scale, the red light is on, the buzzer sounds long, and\"Er0 \" appears on the screen.
3.7 Peak operation

* Note1: If the \"Er0 \" screen appears, it means that the torque sensor has applied more than 110% of the full-scale torque value. Please press \"C \".
* Note2: If Auto SAVE is set in the menu, the peak value flashes for 8 seconds and then automatically saved.
* Note3: If the storage capacity is full, the first record value will be deleted, the new record value will be stored in the last record, and so on.
* Note4: It can be used with the pass judgment function.
Percentage exceeding the upper limit of qualification: judged unqualified, the red light is on constantly.
Percentage below the qualified lower limit: judged unqualified, the green light is on.
Within the percentage of the upper and lower limits of the pass, the pass is judged to pass, and the red and green lights are on constantly.
* Note5: When the applied torque value reaches 80% of the target torque value, the green LED warning light starts to display, and the buzzer sounds intermittently.
* Note6: When the applied torque value reaches 100% of the target torque value, the red light is on and the buzzer sounds long.
* Note7: When the applied torque value reaches 110% of full scale, the red light is on, the buzzer sounds long, and\"Er0 \" appears on the screen.
3.8 、 Maximum operation steps
3.8.1. The operation steps are the same as peak mode.
3.9, peak mode record query

* Note1: If there is no recorded value, \"NONE \" is displayed.
4. Maintenance and storage
4.1 In order to maintain good accuracy, it is recommended to recalibrate once every year.
4.2. The use of exceeding the full-scale value may cause damage to this product or loss of accuracy (more than 110% of the full-scale torque value).
4.3 Do not use the torque tester as a percussion tool.
4.4. Please make sure all components are connected correctly before use.
4.5. Do not press the LCD screen heavily.
4.6 Do not use organic solvents to clean the tester, such as alcohol or paint thinner.
4.7 Do not use unauthorized sockets or accessories.
4.8 Do not attempt to disassemble or repair this tester, otherwise the tester may be damaged.
4.9. When the tester is not used, this product should be stored in an appropriate location.
4.10. Do not touch the power plug with wet hands to avoid the possibility of electric shock.
V. Random accessories
|
1 |
Display components |
1 |
|
2 |
Sensor assembly |
1 |
|
3 |
charger |
1 |
|
4 |
Sensor cable |
1 |
|
5 |
Computer cable |
1 |
|
6 |
CD |
1 serving |
|
7 |
Instructions |
1 serving |
|
8 |
Certificate of conformity |
1 serving |
|
9 |
Warranty Card |
1 serving |
|
10 |
Inspection certificate |
1 serving |
|
11 |
Desiccant |
1 package |
|
12 |
Aluminum alloy portable packing box key |
1 |
|
13 |
Aluminum alloy portable packing box |
1 |